
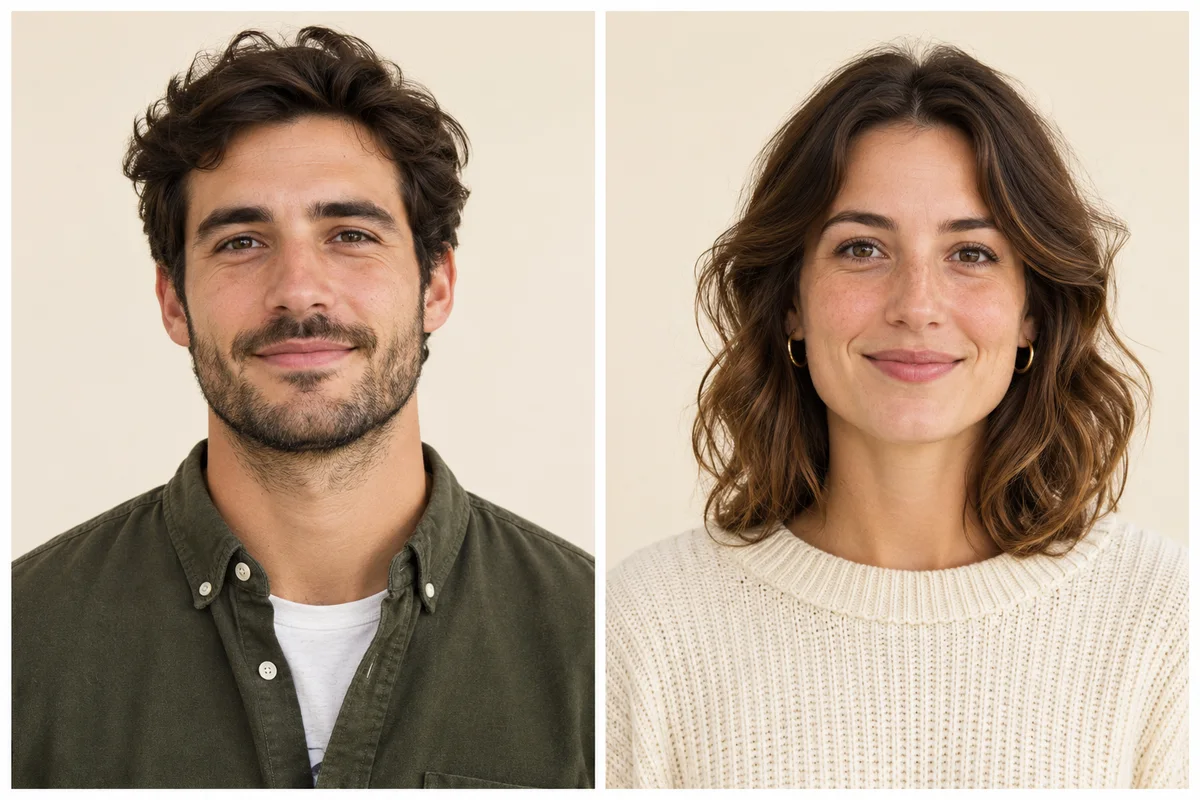
Two clear references help the elevator scene keep its cast distinct. Each photo supplies one person's face, hair, and visible clothing. The listener takes the left slot; the conversation starter takes the right.
Portrait checklist
- One adult per image, with eyes and facial outline visible.
- Soft, even, front-facing light rather than strong backlighting or heavy filters.
- Visible shoulders and hair so the two roles stay easy to tell apart.
- JPG or PNG format, at most 10 MB per file.
- Permission from both adults before using their likeness.
Give each photo one identity
Use one adult per image. Group photos can make the intended subject less clear. Avoid sunglasses, masks, strong filters, and hair covering the eyes. A sharp, evenly lit face is more useful than an unusually large file.
Keep the eyes and facial outline visible, and avoid a crop that cuts through the chin or forehead. A neutral expression is often easier to compare across the head turn than a face partly covered by a hand or accessory. If the two people have similar hair or clothes, choose portraits with other clear differences.
Show the clothes you want
A shoulder-up or waist-up portrait shows the jacket, shirt, or knitwear you care about. If you supply only a tiny face crop, unseen clothing has to be inferred. Distinct outfits can make role mix-ups easier to spot.
Use a framing that includes the details you care about. A waist-up portrait can show a jacket or shirt, while a tighter crop gives less information about the shoulders and clothing. The video may still change or reinterpret details; a source photo is guidance, not a guarantee that every frame will match it exactly.
Prefer clear light and simple backgrounds
Even light helps keep facial features visible. Avoid strong backlighting, deep shadows across the eyes, motion blur, and heavy color filters. A plain background makes it easier to see the outline of the person, but the two portraits do not have to be shot in the same room.
Keep the roles in order
Photo 1 is the headphone listener on the left; photo 2 is the conversation starter on the right. Check both labels before continuing. Each slot is separate and a missing photo must be added before a task can be submitted. The optional appearance field cannot swap or rewrite these fixed roles.
Review the transitions
Look closely when the listener takes off the headphones and turns, and when the conversation moves between the two people. Faces should not merge; outfits and hair should not revert. Hands and the headphone gesture should remain coherent. Prompt instructions cannot guarantee the effect.
Before choosing a final pair, compare the portraits side by side at the size they will appear in the preview. Check that each face belongs to the person intended for that role, and that the left and right labels match your plan. When reviewing a result, pause at the head turn and inspect the first and last frames as well as the reactions.
Use portraits you can include
Get permission from both adults. Do not use a generated performance to claim a real endorsement or event. Photo previews stay in your browser until you submit a task; submitted photos pass through moderation and generation services.
Use photos you have permission to process and share. Avoid images containing private documents, unrelated people, or details you would not want sent to the service. If a photo is unclear or the wrong person is selected, remove it and choose another before submitting.
Accepted: JPG or PNG. Maximum: 10 MB per file. The preview verifies that the image can be decoded before showing it.
Common questions
Do both portraits need matching backgrounds?
No. The portraits serve different roles. Clear faces and visible hair and shoulders matter more than matching locations or lighting.
Will a wider portrait change the framing?
No. The elevator scene uses a fixed landscape 16:9 frame. A wider portrait supplies more identity and clothing detail, but generated framing and movement can vary. Review the result before sharing it.
Does selecting a photo upload it?
No. The site shows an in-browser preview after checking file type, size, and decoding. The image is sent for processing only after you submit a task.
The 10 MB ceiling and the accepted image types come from this site's browser-side validation; MDN's File API reference explains how browsers read local files for a preview, and MDN's image format guide covers JPG and PNG. This guide follows schema.org BlogPosting markup. Last reviewed November 2026.